A Sussex Allotmenteer’s Lunch

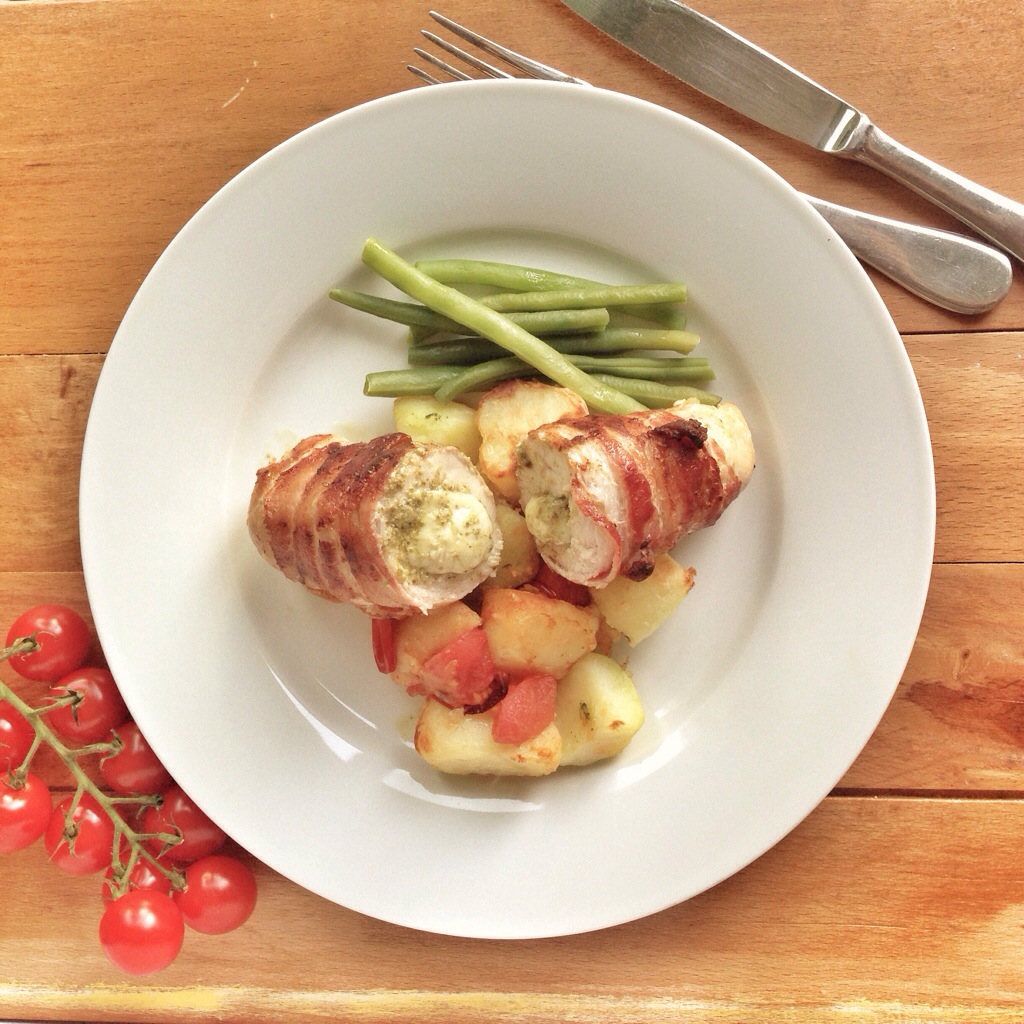
The Ploughman’s lunch is a British classic, and appears in many guises on the menus of pubs and cafes across the country. Whether it is steeped in tradition is debateable, but there is no doubt that the combination of bread, cheese, chutney and pickles is a winner. Teamed with a pint in a sunny pub garden, there is little better to consume on a spring lunchtime. So, when looking for something to take to the allotment for lunch, I often end up creating something Ploughman’s like. It is a real favourite of mine.

Merrydown cider recently gave me a couple of bottles and invited me to create a Ploughman’s as part of a Sussex food blogger challenge; so ever eager to promote local ingredients, I created this Sussex version of the classic. I prefer a cheese ploughman’s, so a bit of the wonderful Sussex Charmer is a must. Produced by Bookham Harrison farm, it combines recipes for farmhouse cheddar and parmesan to produce a creamy cheese with a bit of punch.

In terms of a bread, it has to be a crunchy loaf with a good crumb. I’ve long wanted to make a bread using cider, so used some Merrydown as the liquid in a loaf which combines wheat and rye flour. Based on a Richard Bertinet recipe, the result is perfect teamed with the strong flavours of the cheese and chutney.

cider bread

Cider Bread

You will need (makes one large loaf)

Pre-ferment
100g strong white flour
25g light rye flour
2g yeast
2g salt
90g water
Main bread mix
3g yeast
250g strong white flour
5g salt
150g good cider (I used Merrydown)
Start by making your pre-ferment by combining the ingredients together, kneading a little, then leaving for 6 hours or so. This helps to give a mature flavour to the bread. After this initial ferment; mix with the remaining ingredients and knead for 5-10 minutes until the dough is smooth and elastic. Shape into a ball and place it back into a bowl, cover with a tea towel or plastic and leave to prove for a further 45-60 minutes.
When the dough has proved for nearly an hour, remove from the bowl and shape into a batard. I placed mine in a banneton, but a floured tea towel would be fine. Cover and leave to prove for 1 and half hours, or until the loaf has nearly doubled in volume. To bake, turn the loaf onto peel (or the floured back of a baking tray), spray the inside of the oven with water, and then slide the loaves onto a preheated (240°C) baking stone or tray. Bake for 10 minutes, then turn down the heat to 200°C, and bake for about 35 minutes until well coloured. The loaf should be hollow in sound when tapped. Allow to cool before slicing.

Apple & Cider Chutney

You will need (makes one large jar)

100g sultanas
1 pint cider (I used Merrydown Sussex Cider)
4 eating apples, peeled and chopped (there are lots of great varieties from Sussex, with my friends at Brighton Pemaculture Trust working hard to preserve them).
3 onions, finely chopped
1 cup granulated sugar
1/2 cup soft brown sugar
1 cup cider vinegar
1/2 tsp peppercorns
1/2 cinnamon stick
1/4 tsp chilli flakes
1 tsp coriander seeds
1 star anise

Start by soaking the sultanas in the cider overnight. In the morning, place the spices into a muslin bag and secure tightly. Put all the ingredients, including the sultanas with cider, into a large heavy based pan and bring to the boil. Turn down and simmer for a couple of hours, until the mixture achieves a sticky chutney consistency and the surplus watery liquid has evaporated. Whilst still hot put into sterilised jar and allow to cool.


Advertisement

Autumnal Root Vegetable Salad with Goats Cheese and Lentils

During the spring and summer, there’s not much more I like than to have a fresh salad, using what I can find at the allotment to make a delicious lunch. As the weather cools and the days get shorter (and wetter it seems), my love of the salad is replaced by a desire to eat warm comforting food like jacket potatoes, stews, and soup. However, the root vegetables are often at their best during this period and I’ve become to realise that they are just as good in a salad as a juicy tomato, or crunchy cucumber. When roasted, their inherent sweet earthiness is perfect to team with the slightly bitter leaves of chicory or rocket, providing both a fresh and comforting taste. So today, I’m having an autumnal salad of roasted carrot and beetroot, green lentils and a little goats cheese. Perfect.

roasted veg salad

You will need (for two people)

2 medium sized beetroot chopped into eighths
2 medium carrots, cut into small chunks
1 crisp apple, cored and cut into eighths
1tsp. caraway seed
dash of olive oil
100g Goats cheese

For the lentils
100g green lentils
1 bay leaf
350ml water (or vegetable stock)
A small handful of finely chopped parsley

For the dressing
3tbsp olive oil (I used the drained oil from the roasted vegetables)
1tbsp lemon juice
1 tsp Dijon mustard
1/2 clove of garlic crushed (I used a roasted clove of garlic I put in with the vegetables)
1/4 tbsp honey
pinch of salt and a few twists of black pepper

Preheat the oven to 200°C, then toss the chopped vegetables in a roasting tin with the caraway seeds and olive oil. Roast in the oven until soft and slightly caramelised; depending on the size and variety of your roots they may need different times, I tend to start with the beetroot, add the carrots 10 minutes later, the apples 10 minutes after that. It usually takes 30-40 mins in total.

roasted veg

Meanwhile place the lentils and bay leaf in a saucepan with the stock or water and bring to the boil. Partially covered with a lid, and simmer for 30 minutes, or until the lentils are just tender. Drain away any excess liquid and discard the bay leaf. Season the lentils with a little salt and pepper, before putting to one side.

To make the dressing, just add the dressing ingredients into a jar with a screw-top lid; cap and shake vigorously to emulsify. Pour some dressing into the lentils when they’re still warm, stirring in a small handful of finely chopped parsley as you do.

To serve, combine the dressed lentils with the roasted vegetables and apple. Divide between two plates, top with broken pieces of soft goats cheese. then drizzle with a little more of the dressing.

#CookBlogShare

New Baby Chicken

It’s amazing how a situation, and experience, can change how you perceive things. Its definitely the case with food. Fish and chips for example always tastes better on the beach, and the memory of the ice cream I had relaxing on the walls of old Dubrovnik is undoubtedly effected by my happy memories of that holiday.

When our daughter was born, my wife and I returned from hospital with our new baby desperate for a good meal. Hospital food is not necessarily the best, although I remember my wife gobbling down all the food given to her during her time in the hospital. So, on our return I set to work making a decent meal.  I don’t recall why, perhaps it was suggested by my wife, but I ended up making a Jamie Oliver recipe (from one of the comic relief mini-books). A tray bake chicken dish, which used pancetta wrapped around chicken stuffed with basil butter. The herby butter oozed out of the chicken, helping to keep the chicken moist, but also infusing the potatoes with a delicious basily butteriness. It was exactly what was needed for a mother recovering from childbirth, and a father coming to terms with the enormity of parenthood. Comforting and buttery, yet fresh with the acidity of the tomatoes and the vibrant flavour of basil. We’ve had the same dish, or very similar versions of it, many times since, but its never ever come close to matching the first one. That’s why it will forever be known as New Baby Chicken.

New Baby Chicken

You will need (serves 2)
600g potatoes, peeled and cut into 2cm dice
salt and black pepper
olive oil
Small bunch fresh basil
50g softened butter
2 skinless chicken breasts
6 slices streaky bacon
Large handful cherry tomatoes, halved
Small bunch of salad leaves (whatever you’ve got, but rocket or watercress go well)
Juice of half a lemon
4 tbsps extra virgin olive oil

Preheat the oven to 220°C and par·boil the potatoes in salted water, then drain and let them steam dry until cool. Toss them in a little oil and seasoning, before baking in a  roasting tray for 10 minutes. Meanwhile, tear the basil leaves and pound them in a pestle and mortar with a little salt until the luscious green juices of the basil are released. Add butter and work the basily liquid into it, to form a green flecked basil butter.

To prepare the chicken turn your first chicken breast over, fold back the small fillet underneath, cut a long, shallow slash into the main breast meat. Spoon a couple of teaspoons of basil butter into this cut and fold the small fillet back into its original position. Next, lay the streaky bacon on a chopping board and, using the side of the knife, flatten and lengthen each rasher. This makes your bacon go further, but also helps it to crispen up better.  Lay out three rashers, slightly overlapping, on a chopping board. Place a chicken breast upside down at the centre of the bacon and wrap the rashers around the chicken breast. Repeat with the remaining chicken and bacon.

chicken and potatoes in the pan

When the potatoes are nearly cooked, throw the tomatoes into the tray with a splash more oil, and place the wrapped chicken breasts on top. Pop back in the oven for about 15-20 minutes. Serve with a salad of leaves and a quick lemon juice dressing (mix the juice of half a lemon with 4tbsp. of oil).

new baby chicken


Little Swiss Chard and Stilton Tarts

I love Swiss chard. There I’ve said it. It has to be my “go-to veg” when sowing at the allotment, if there is a space it’s filled with chard.  As a plant, it’s hardy and forgiving, and just keeps on going. Added to this, it has a beautiful form and, if you sow rainbow chard as I do, the colours are so vibrant. I remember being blown away by the chard at the Eden Project; they’d got it growing in rows like a bedding plant, and it was so beautiful. Swiss chard is also a great vegetable to eat; we just don’t eat enough of it in this country. In Italy, its appreciated more and both the leaves and the stalks are cooked extensively.

With a limited amount to harvest at the plot, Swiss chard has appeared regularly on the table (often in the form of a chard pilaf). The other day though we had some stilton leftover from something, so I combined the two ingredients in a little tart. Blue cheese has a natural affinity with chard; the iron rich leaves complimenting the twang of the cheese. Combined with the creamy blanket of the egg custard, it makes a delicious tart.

20140328-115017.jpg

You will need (makes 4 small tarts)
250g Swiss chard, washed and stems stripped from the leaves
150g Stilton (or any other strong blue cheese) chopped into small dice
2 eggs
2 egg yolks
350ml double cream
salt and pepper

For the shortcrust pastry
250g wholemeal flour
50g walnuts
125g unsalted butter
A pinch of salt
1 egg yolk
30ml (approximately) milk

Start by making the pastry (it needs time in the fridge to rest before being rolled out). Put the walnuts in a food processor and whizz until a fine powder. Add the flour, salt and butter and pulse until the mixture resembles breadcrumbs. Add the egg yolk, then (with the food processor going) slowly pour in the milk until the dough starts to come together. Remove from the bowl and knead a little before wrapping in cling-film and chilling for at least half an hour.

Roll out the pastry on a floured surface; you want it pretty thin to help get a crisp finish. Use pastry to line four 10cm deep tart cases, line with greaseproof paper and baking beans, and place in a preheated oven at 170°C. Blind bake for 15 minutes. Take out of the oven, remove the beans and paper, and lightly prick the base; before returning to the oven for a few more minutes until the base is dry but not too coloured. Increase the oven temperature to 180°C.

Blanch the chard in boiling water, drain, chop lightly and leave to one side to cool a little. Once cool, divide the chard between the four tart cases, topping each with a quarter of the cheese. Put the eggs, egg yolks, cream and salt and pepper in a jug and beat until smooth. Pour the custard over the filling of the tarts and bake in an oven for half an hour, or until they are slightly browned on top, but still have a slight wobble to them. Remove from the oven and serve warm (or indeed cold if you can wait that long).

20140328-115009.jpg

20140328-135658.jpg


Cheesy Feet

For quite a while now we have made cheese biscuits based on a River Cottage recipe (adapted below). Biscuits are always popular in our house, and in making cheese ones we hope to reduce our sweet intake a little. The idea of adapting the idea to create ‘cheesy feet’ came from a trip to Bradford on Avon – where (in desperate need of a snack) we bought some cheesy feet from the baker at the weekly Farmers’ Market. For months we’ve looked out for a foot cutter to create our own version, finally finding one the other week.

With Halloween coming up, the children and I decided to make some cheesy feet with added gruesomeness – hence the addition of dodgy looking nails in the form of pistachios. You could use flaked almonds, but the green and brown tinge to pistachios seemed to fit the Halloween theme best.

20131024-140636.jpg
What you will need (Makes 20-24)
125g unsalted butter, cubed
125g cheddar, grated
4 tbsp grated parmesan
150g plain flour
½ tsp bicarbonate of soda
A pinch of salt
2 tsp yogurt
A few grinds of black pepper
Pistachio nuts – halved

This is a really easy recipe, as all you need to do is whizz everything in a food processor until it comes together into a ball, then remove the dough and knead for a minute or so. Wrap the dough in clingfilm and pop it in the fridge for half an hour. Preheat the oven to 190C/375F/gas mark 5.

20131024-140922.jpg
Roll out the dough on a lightly floured surface until it’s about 3-4mm thick, then use your foot cutter (or any other shape you want) to cut out the biscuits. Place five of the halved pistachios on each foot to resemble nails, then move the biscuits onto baking sheets lined with baking parchment and bake for 10 minutes, until golden. Cool on a wire rack.